
On Set
Shooting “The Whistler” on ALEXA
On 31, Oct 2013 | 4 Comments | In On Set | By Colton Davie
As a Halloween treat, Openlight Pictures just released The Whistler, a small but spine-tingling short film. Bryce McGuire wrote and directed, Rod Blackhurst produced, and I was the cinematographer. Bryce wanted to keep the shoot small and intimate, so the entire consisted of just the three of us, plus the two leads, Kate Cobb and Josh Schell.
The film came together on a very accelerated schedule. We had one night to shoot the 7-page script, and about a week for post in order to get it up for Halloween.
Blocking
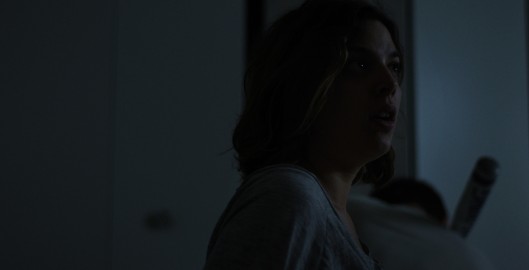
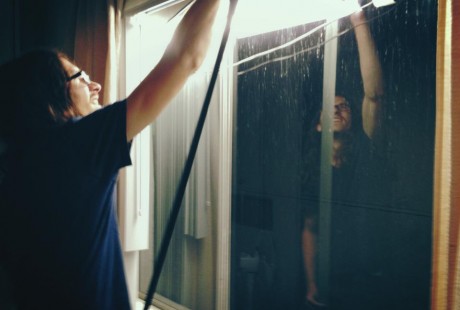
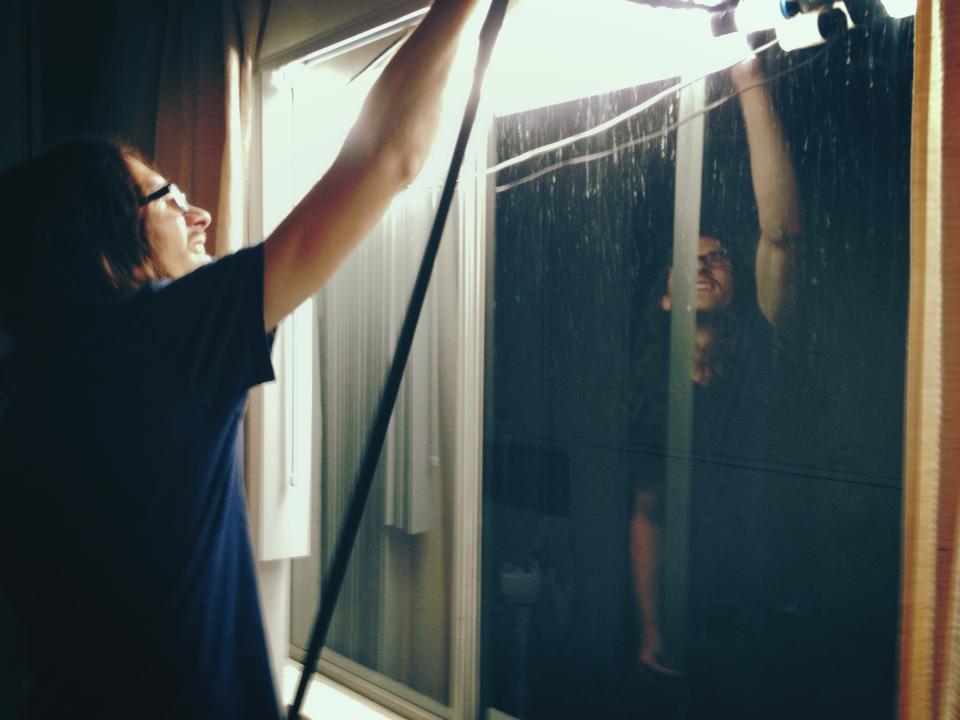
A test still.
Bryce and I like to move the camera, and we often find some of the most powerful moments when we throw the camera on my shoulder and I jump into the mix with the actors. For this project we decided to take a different approach. Instead of conveying emotion through the movement of the camera, we tried to let the stillness of the camera communicate suspense.
A few days before the shoot, Bryce and I spent some time in the location with a DSLR trying out different angles and trying to find ways to cover the scenes that were very simple but evocative. We kept the camera on a tripod or high-hat for the whole shoot, and most of the scenes play out in just 2 or 3 set-ups, which from a practical standpoint allowed us to get all our shots in one night, but also has the subtle effect of unease, restricting the audience’s viewpoint and leaving the surroundings in mystery.
Lighting
Kitchen with kino toplight. Darker kitchen.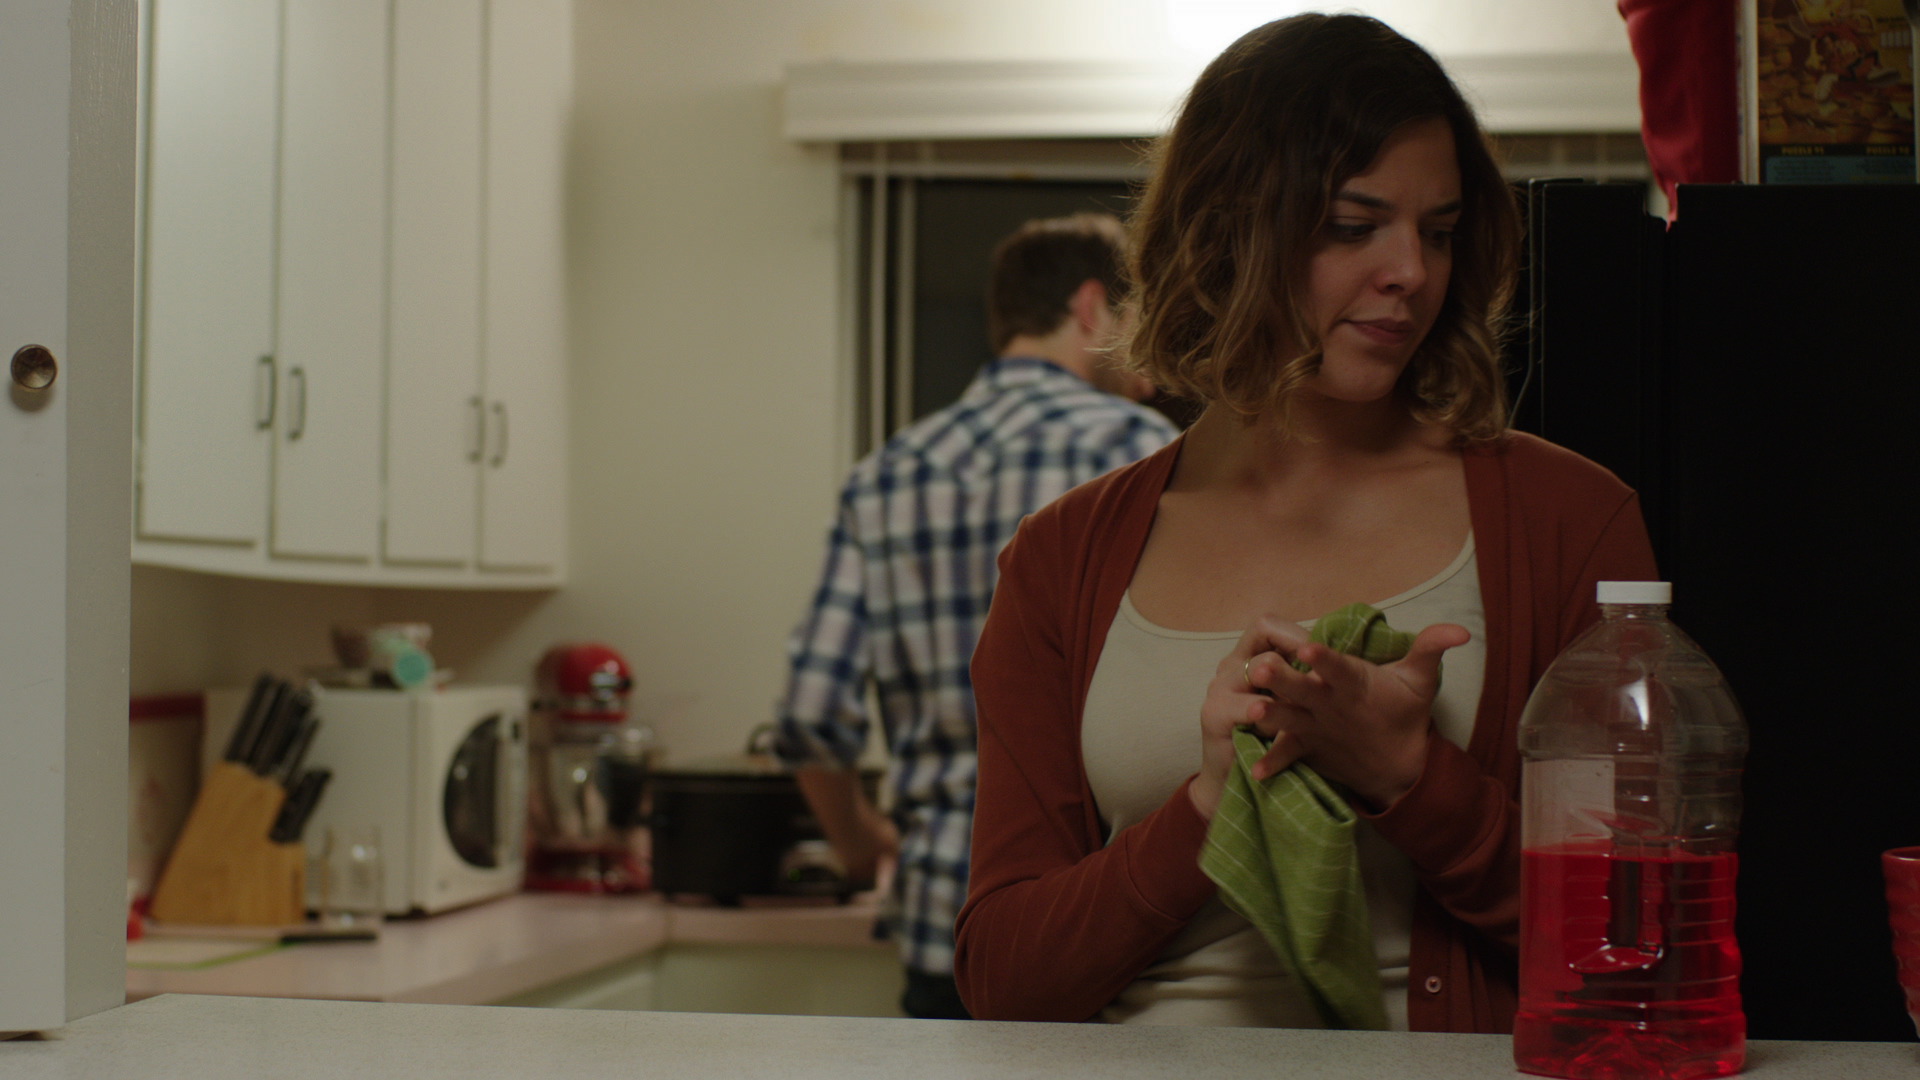
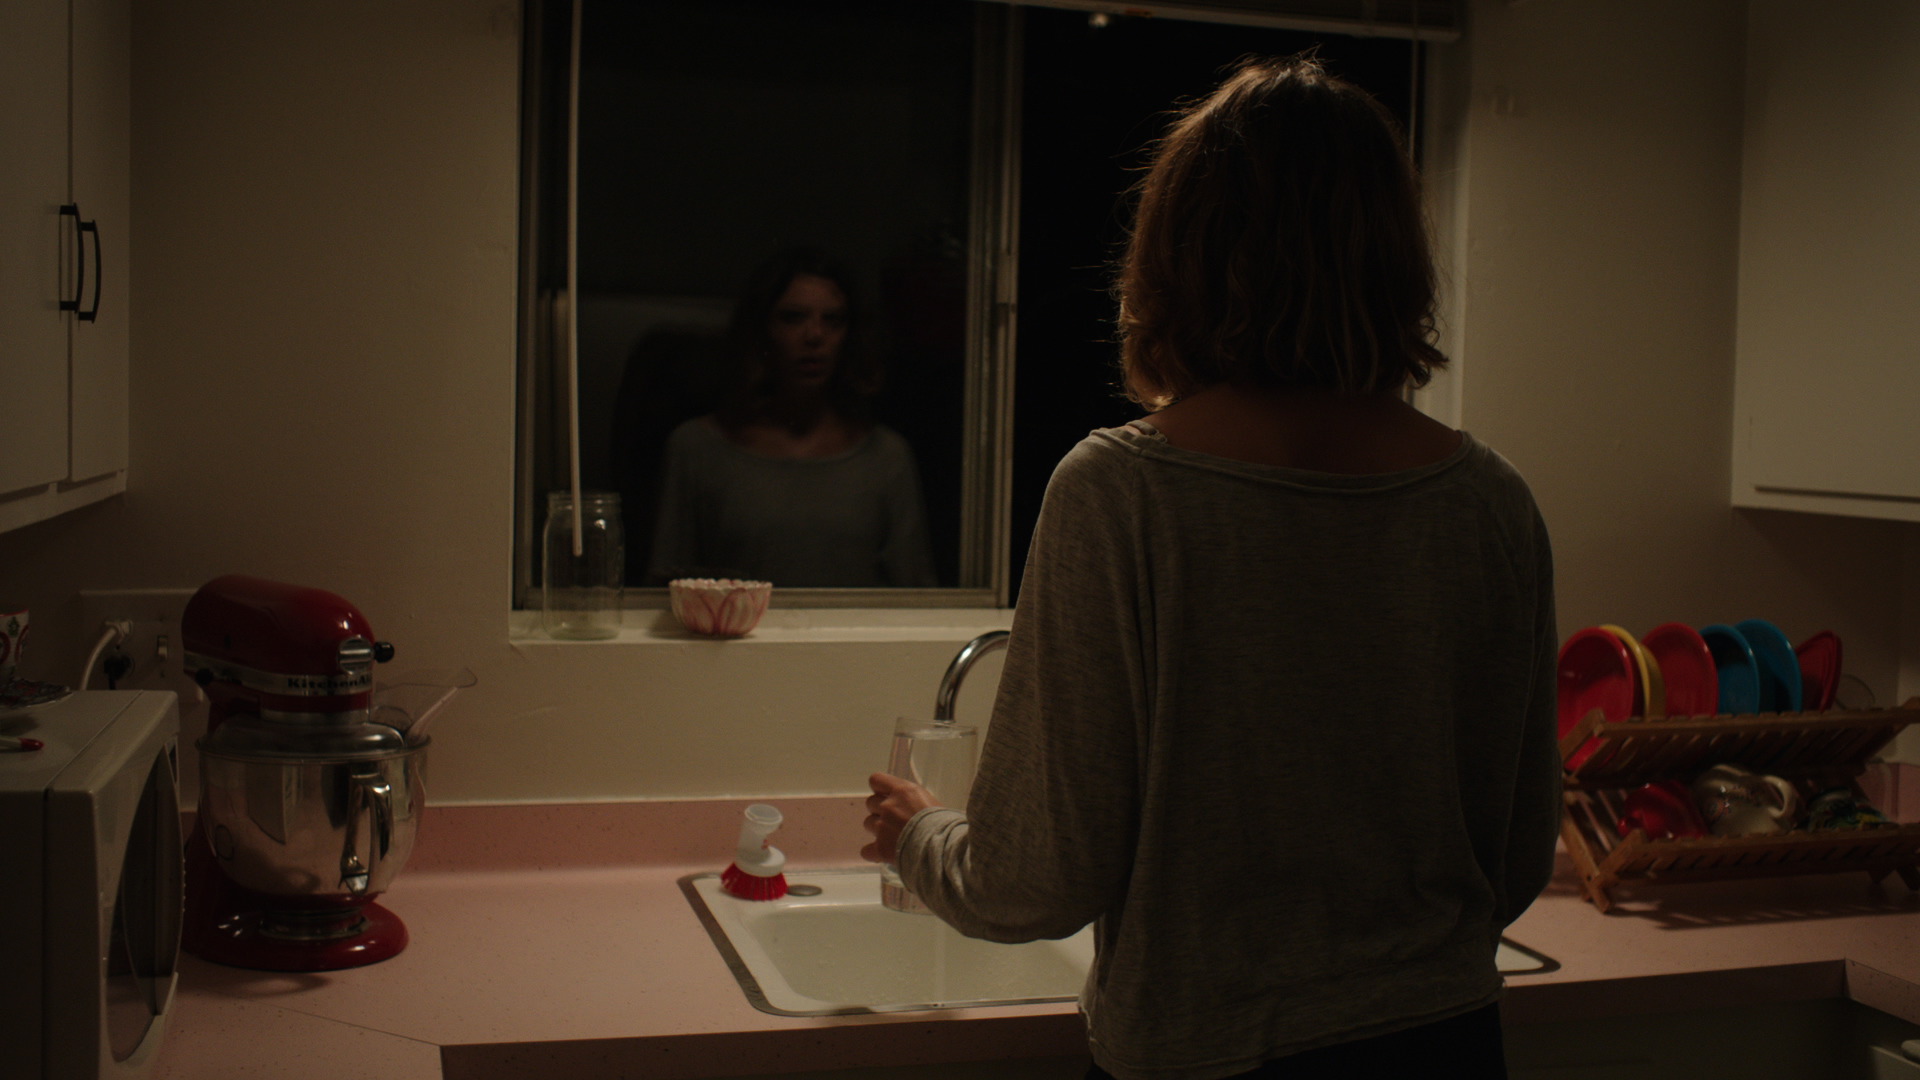
Because of our tiny crew, the lighting setups had to be pretty simple as well. The night before, we pre-rigged a couple of the rooms with kino-flos so that we could come in and shoot with minimal setup time. I taped 2x 4′ daylight tubes behind the curtains of the bedroom window to create the soft blue glow that illuminates the room once the lights go out. The glow was almost bright enough to make you think it was daylight by eye, so I stopped down the camera a bit to underexpose, then brought the exposure down a bit further in the color grade. In the kitchen we taped 2x 2′ singles with 2900K bulbs to the ceiling to replace the existing fixture with a softer toplight. When Kate comes back into the kitchen later, Bryce wanted a darker feel, like she was in a pool of light at the end of the room. So I replaced the greenish/yellow compact fluorescent bulb in the fixture above the sink with a more natural 100W soft-white incandescent bulb and used black wrap and a flag to restrict the light to that end of the room.
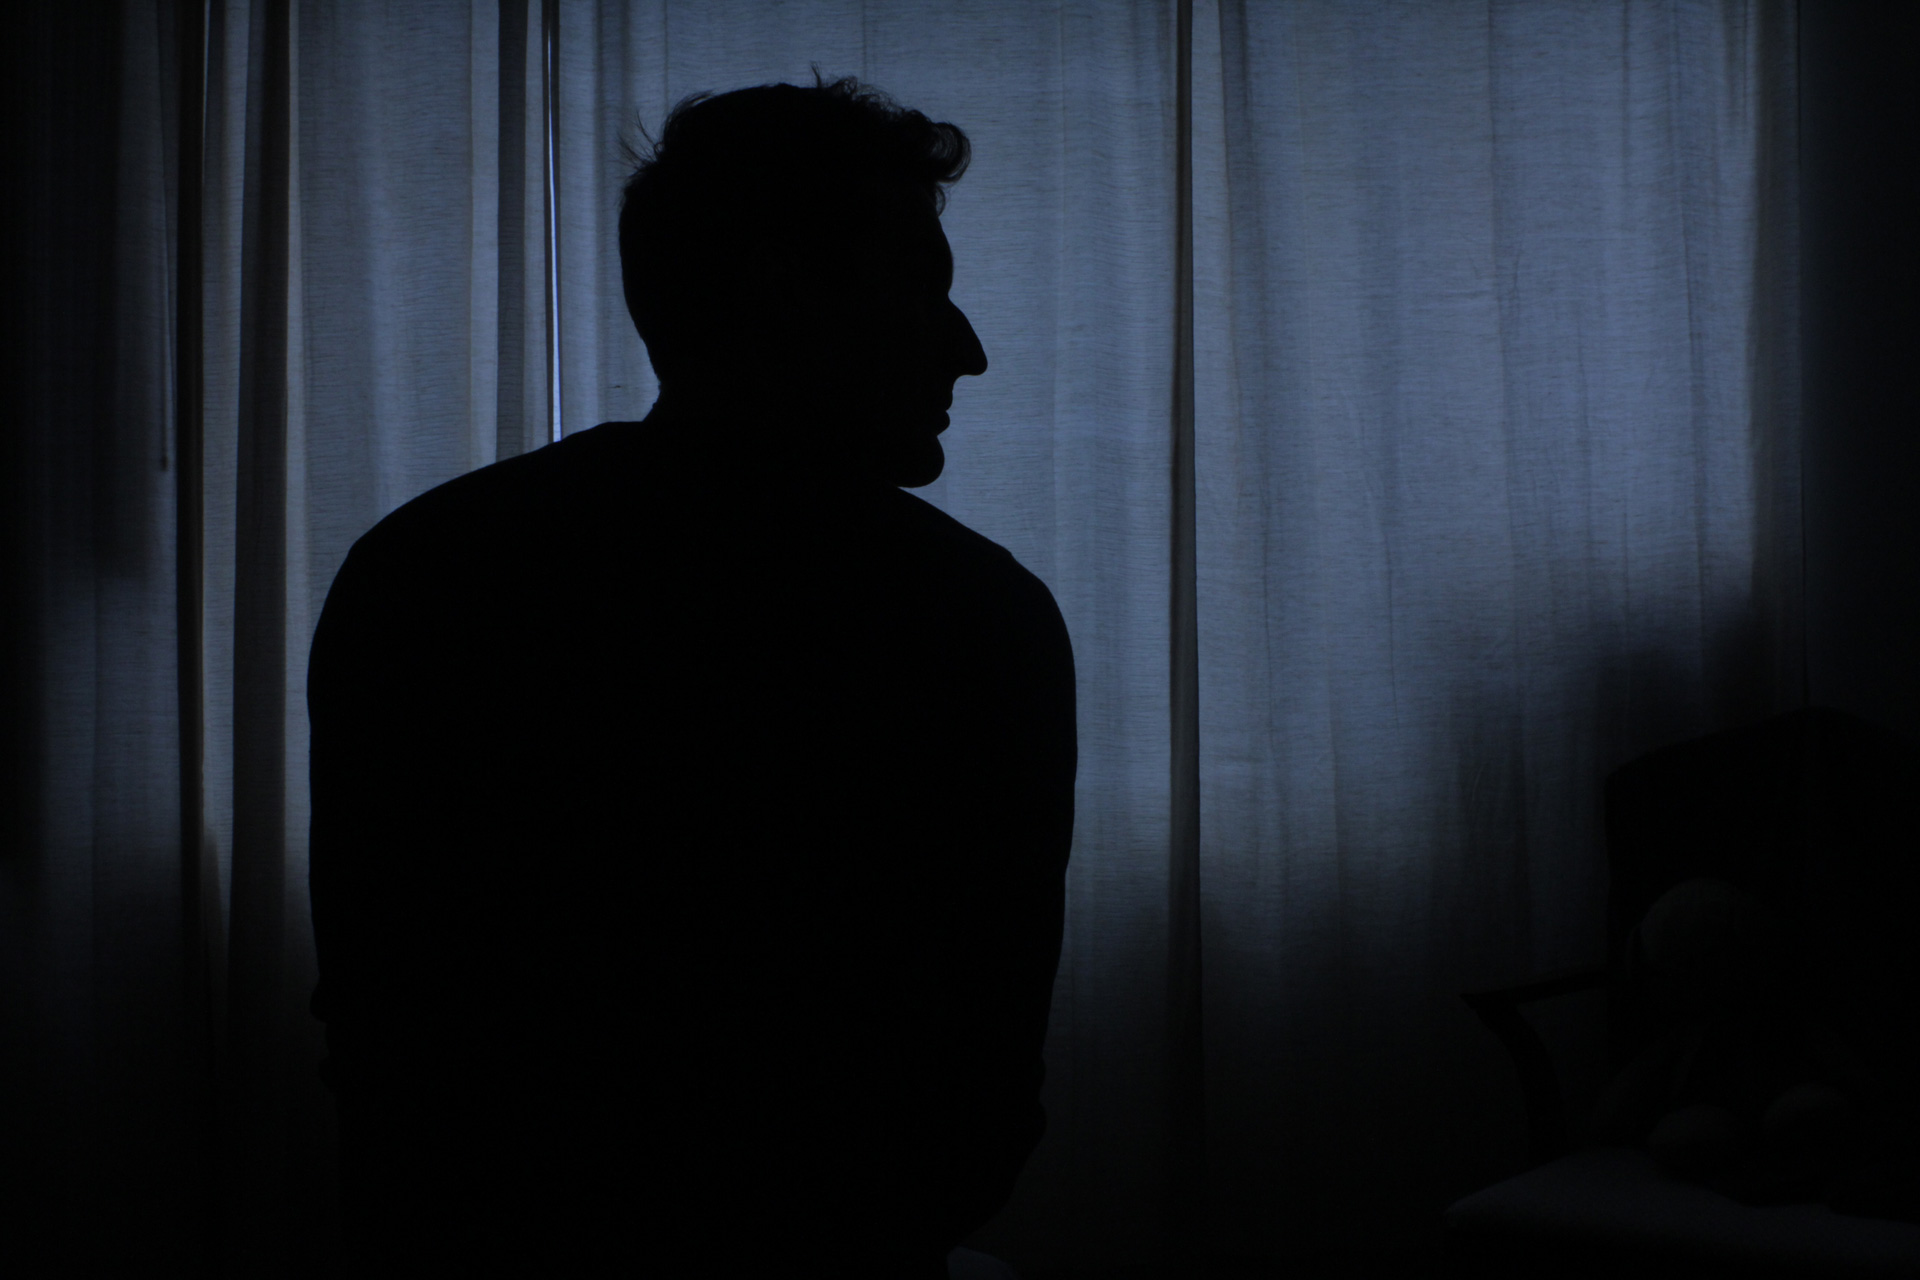
Most of the other scenes were lit with small tungsten fresnels bouncing off the ceiling or walls, which was a quick and easy way to get a pleasing soft light. By focusing the light into a specific part of the ceiling, I could affect the directionality and softness of the light. The sodium vapor yellow light coming from the balcony and when we see Mark out the window was achieved with a 650W tungsten fresnel with full CTO and either quarter or half plus green. For the dappled blue accents in the dark living room, we picked some branches off a bush and rigged them in front of a small fresnel with full CTB. The effect was way over the top at first, so I scrimmed that light down considerably.
Workflow
We shot on the ALEXA in LogC to ProRes4444 with Zeiss Standard Primes, primarily shooting at 800iso. We monitored in Rec709, which I used to help judge exposure along with my light meter. The extraordinary dynamic range of the ALEXA was great in a situation like this where the lighting could not be very precise. It provided a very natural feeling image that allowed me to have a wide range of exposure within the frame without worrying that the highlights would blow or the shadows get blocked up. The amount of color and exposure information in the shadows was especially helpful in the dark bedroom and living room scenes.
After the shoot I took the footage through Resolve for a quick primary color grade based on the ALEXA LogC to Rec709 LUT and rendered out ProRes 422 dailies for the edit. Once the edit was complete, at about 10pm last night, it was a simple process of relinking the original ProRes4444 media and taking that through Resolve for the final color grade. Resolve remembered all of my dailies corrections which allowed me to move through the grade quickly, focusing on small tweaks and a handful of secondary corrections.
Having Fun
Big, longer term projects are often very rewarding. However, it was a lot of fun to dive into something like this and just crank it out in a short amount of time. The compressed timeframe pushes you to pick an idea and go for it; there is not as much luxury to go back and forth between different approaches. I’m glad to have taken part in this project, and hope you find it nerve-wracking at first, but enjoyable in the end.
I also want to shout out to Ben Watts, who did an awesome job of creating a bunch of virtual birds in no time, and John Snyder, who similarly did an awesome job of creating a tense original score in no time.
Have a great Halloween!
Colton Davie, Cinematographer
-
I’m a bit of a newbie and quite curious to find out how you attached the Kino Flo tubes and how you powered them. Any change, that you could enlighten me?
-
Birk,
My favorite thing about Kinos is how flexible they are. For example, with the standard 4-banks, 2-banks, and singles, all of the main parts are made to be easily stripped down as needed.
As I’m sure you’ve noticed, the tubes are held in place by simple clips. The cord that attaches to either end of the tubes and the ballast, via the header cable, is also held by similar clips. Here’s a picture of that cable:

If you remove the tube(s) along with the cable, you basically have the light, but without the reflector, barndoors, etc. You plug the cord into your header cable, which runs to your ballast, which plugs into a power source, and you’re good to go with a lightweight tube of light you can tape up almost anywhere.
On The Whistler, I simply used paper tape to tape the tubes to the windows and the ceiling. Here’s a photo that Bryce took:
I hope that makes sense! It’s very simple really.
Colton-
Thank you very much for taking the time to reply to my newbie question.
It is very simple indeed! Wasn’t aware that you could simply disassemble them. Is it possible to buy the cables, ballasts and tubes separately if, you like me, want to save a little money?
-
-
Comments